Before you start
Gather the workspace name, preferred language, locations, member email addresses, and the roles each person performs. Decide which work categories need a coordinator and which members should be limited to specific locations.
Workdesk records who assigned, changed, arrived, spent, approved, and removed. Named accounts make that history useful and accountable.
Setup steps
- Create the workspace.
Use the verified owner account. Confirm the workspace name and preferred language.
- Activate workspace access.
Choose a Google Play plan in the Android app, subscribe with Stripe in the owner portal, or redeem an approved pilot grant. Operational work remains read-only until access is verified.
- Add locations in the owner portal.
Open Locations. Add the public name, short code, address, access notes, parking, and service entrance when known.
- Invite the team.
Open Users. Choose the correct role, recipient email, and assigned locations. Share an invitation link or QR code only with its intended person.
- Route responsibilities.
Use Responsibilities when different coordinators handle different categories. Choose a primary coordinator, backup coverage, evidence reviewer, and eligible field personnel as needed.
- Review workspace settings.
Choose whether closure photos are required, whether location snapshots are enabled, and how long closed tickets remain in the active view.
- Confirm one complete workflow.
Follow a ticket from reporting and assignment through the visit, evidence, completion, and approval or reopening. Confirm that every role sees the actions it needs.
- Publish local guides.
In the portal, add workspace-specific safe checks and escalation rules. These appear under Help and guides in the app.
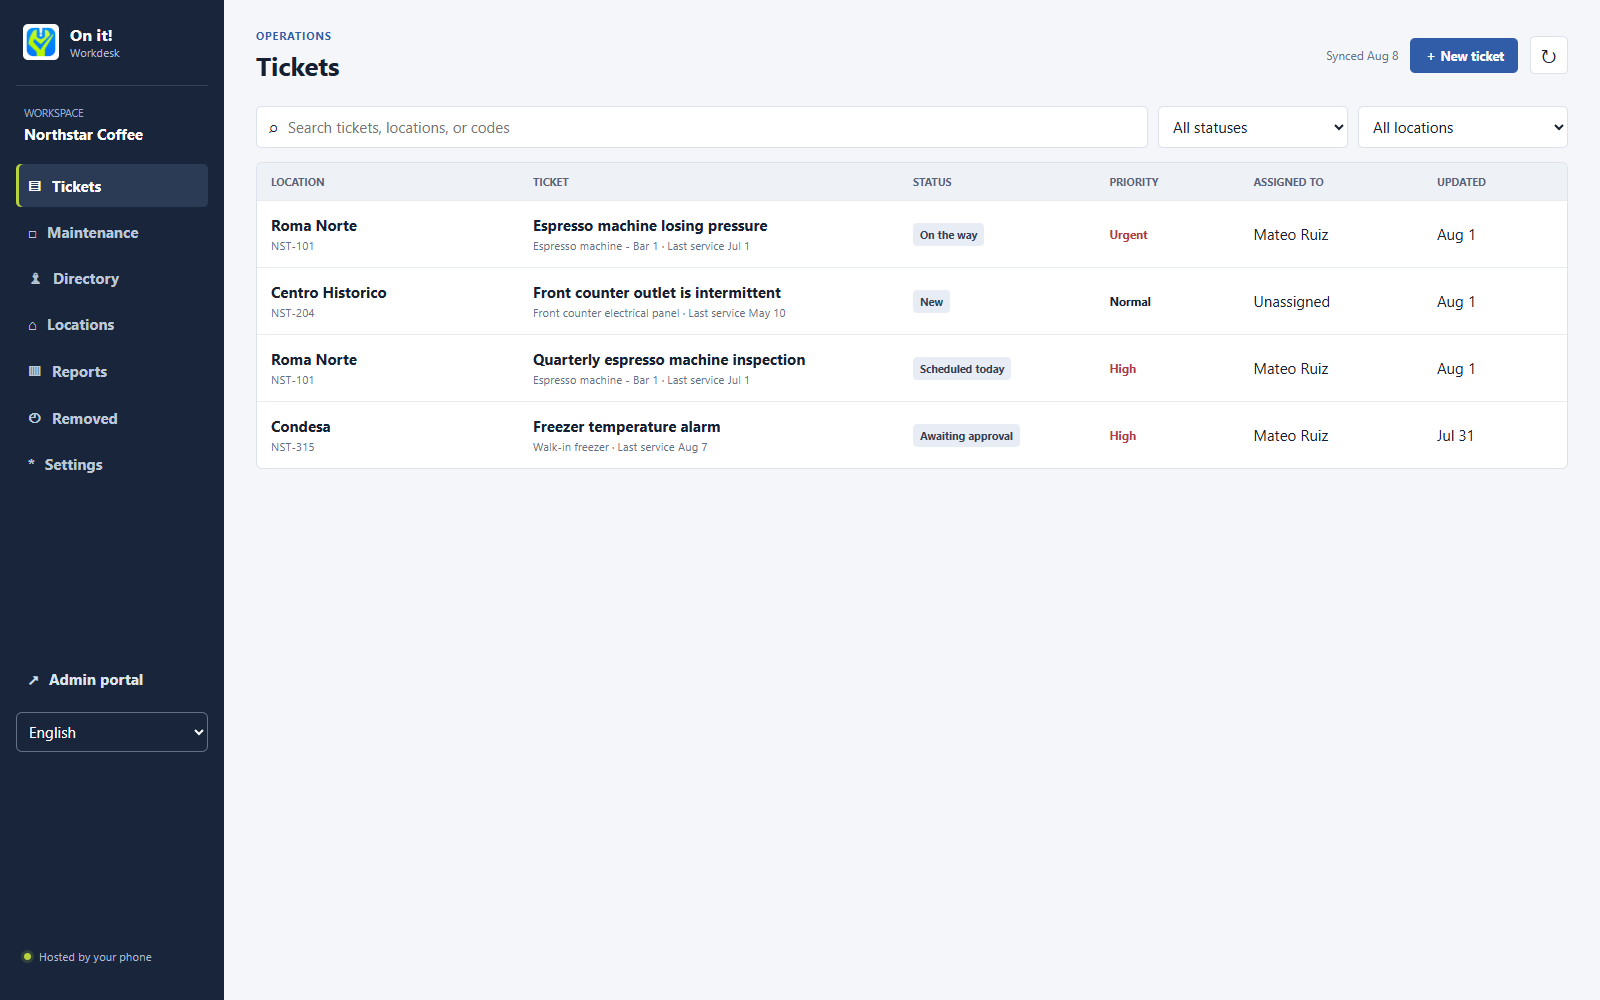
Check that the workspace is ready
- Each person sees only the locations and queues required for their role.
- Ticket titles identify the issue while the location remains visible at a glance.
- Coordinators can assign, reassign, and request follow-up without becoming the field technician.
- Technicians can start a shift, mark travel and arrival, add evidence, and report completion.
- Authorized location members or supervisors can approve, reopen, or record a confirmed remote resolution.
- Owners can find ticket history, costs, files, removal logs, workspace settings, and export controls.
When setting up many locations or members, finish one group and confirm visibility and routing before adding the next. This makes assignment errors easier to find and correct.
Avoid these mistakes
One shared account for an entire location
Use named members when audit history matters. External request links are better for occasional reporters who do not need ongoing access.
Categories without a coordinator
A category can exist without a responsibility profile, but an authorized person must still monitor the unassigned queue.
Making every field mandatory
Equipment and directory records can start partial. Add details when they become useful during real service.